
 EN
EN


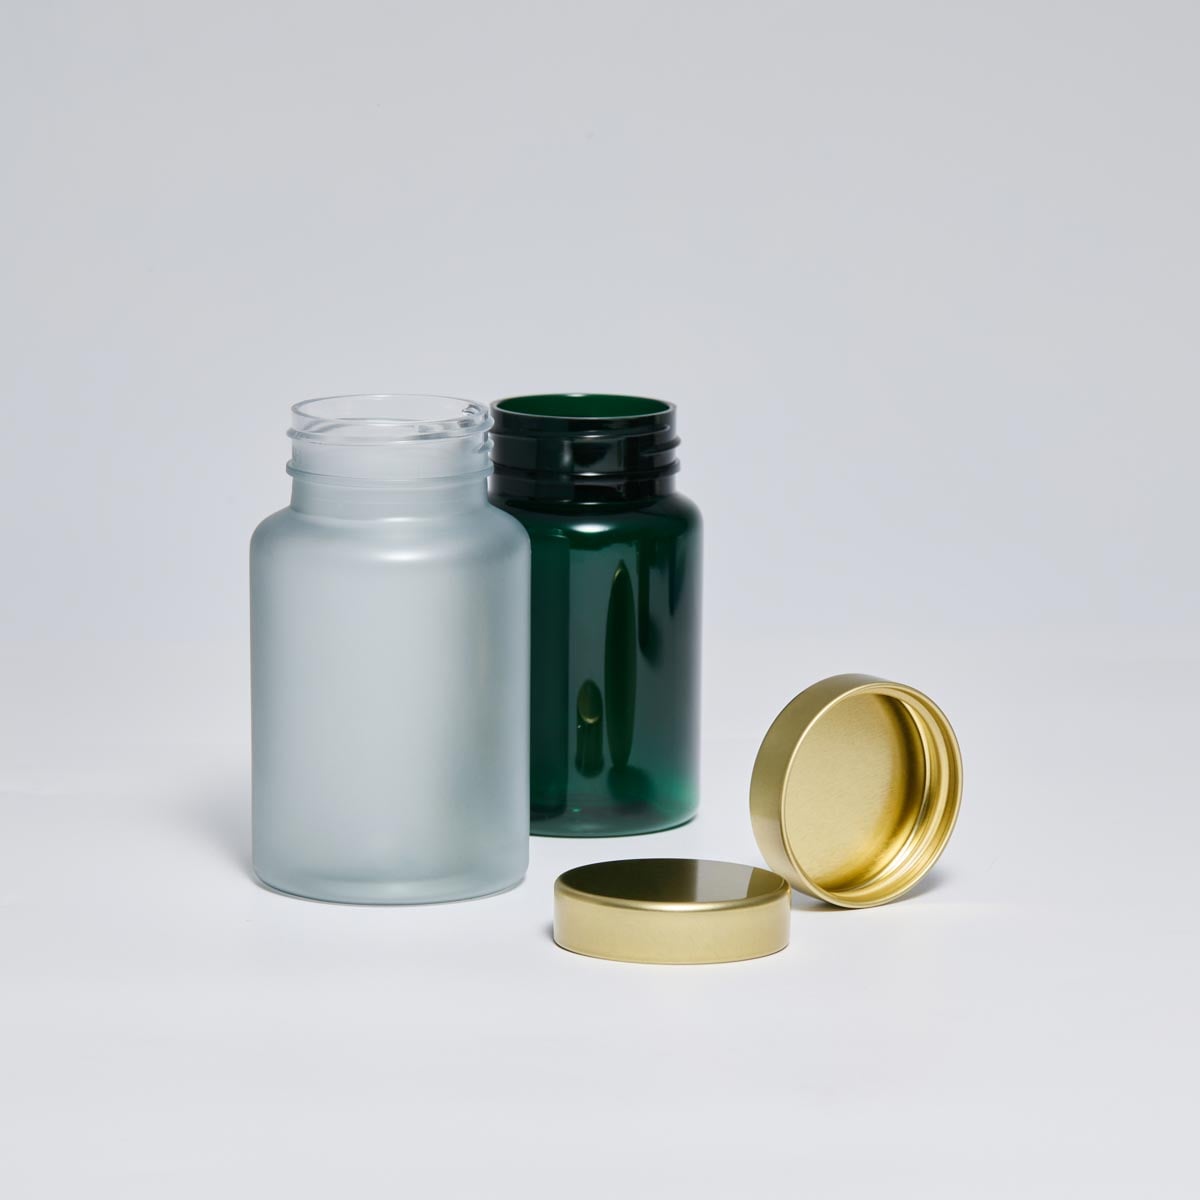
If you have ever opened a production run only to find scorched, discolored, or partially melted seals, you already know how disruptive induction heat seal liner burning can be. This problem does not just affect the appearance of your finished product — it can compromise tamper evidence, weaken the seal integrity, and trigger costly rework or customer complaints. For packaging engineers and production managers working with PET plastic containers, understanding why this burning occurs is the first step toward eliminating it for good.
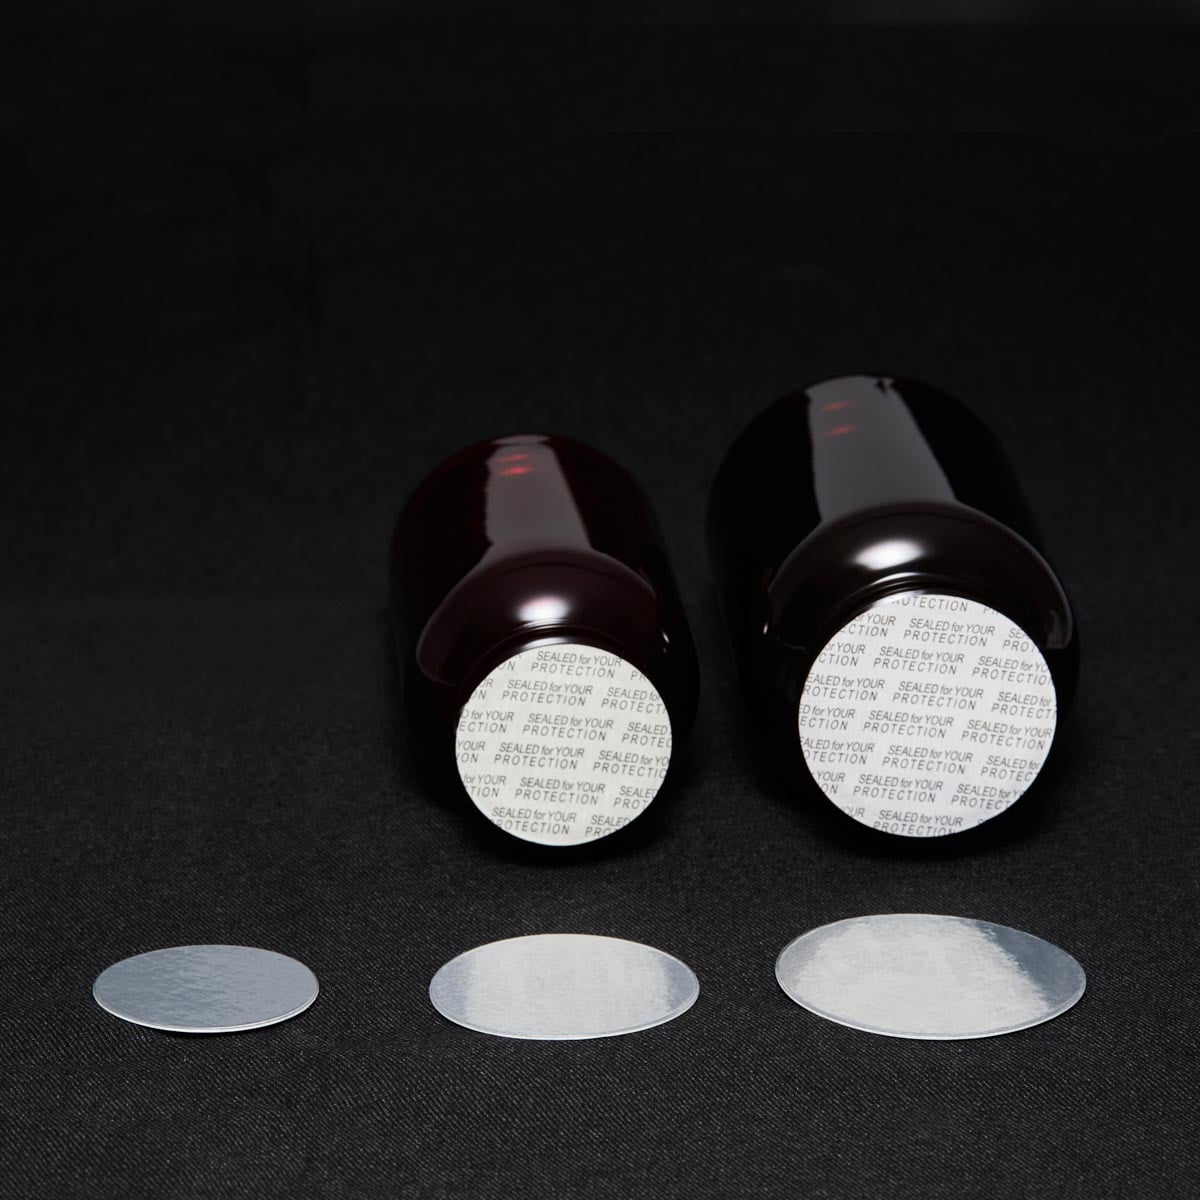
The induction heat seal liner is a precision-engineered component that relies on a carefully balanced interaction between electromagnetic energy, the aluminum foil layer, and the container's sealing surface. When any variable in that chain falls outside its optimal range, burning becomes a real and recurring risk. This article walks through the root causes of liner burning, how to diagnose them on your line, and what corrective actions will restore consistent, clean seals across your entire production run.
Understanding How Induction Sealing Works and Where Burning Begins
The Basic Mechanism Behind Induction Sealing
Induction sealing works by passing a capped container beneath an electromagnetic coil. The coil generates a rapidly alternating magnetic field that induces eddy currents within the aluminum foil layer of the induction heat seal liner. Those eddy currents produce heat almost instantaneously, melting the polymer coating on the underside of the liner and bonding it to the container's rim. The entire process takes a fraction of a second and, when calibrated correctly, produces a hermetic, tamper-evident seal.
Because the heat is generated inside the liner itself rather than applied from an external source, the process is highly efficient. However, that same efficiency means that even a small miscalibration can push the foil layer past its thermal threshold. When the aluminum absorbs more energy than the polymer bonding layer can dissipate, the result is localized overheating — the visible sign of which is burning, charring, or discoloration on the liner surface.
Recognizing that burning is always a symptom of an energy imbalance — rather than a random defect — is critical. It means the problem is diagnosable and correctable through systematic adjustment rather than guesswork.
The Role of the Liner's Layered Construction
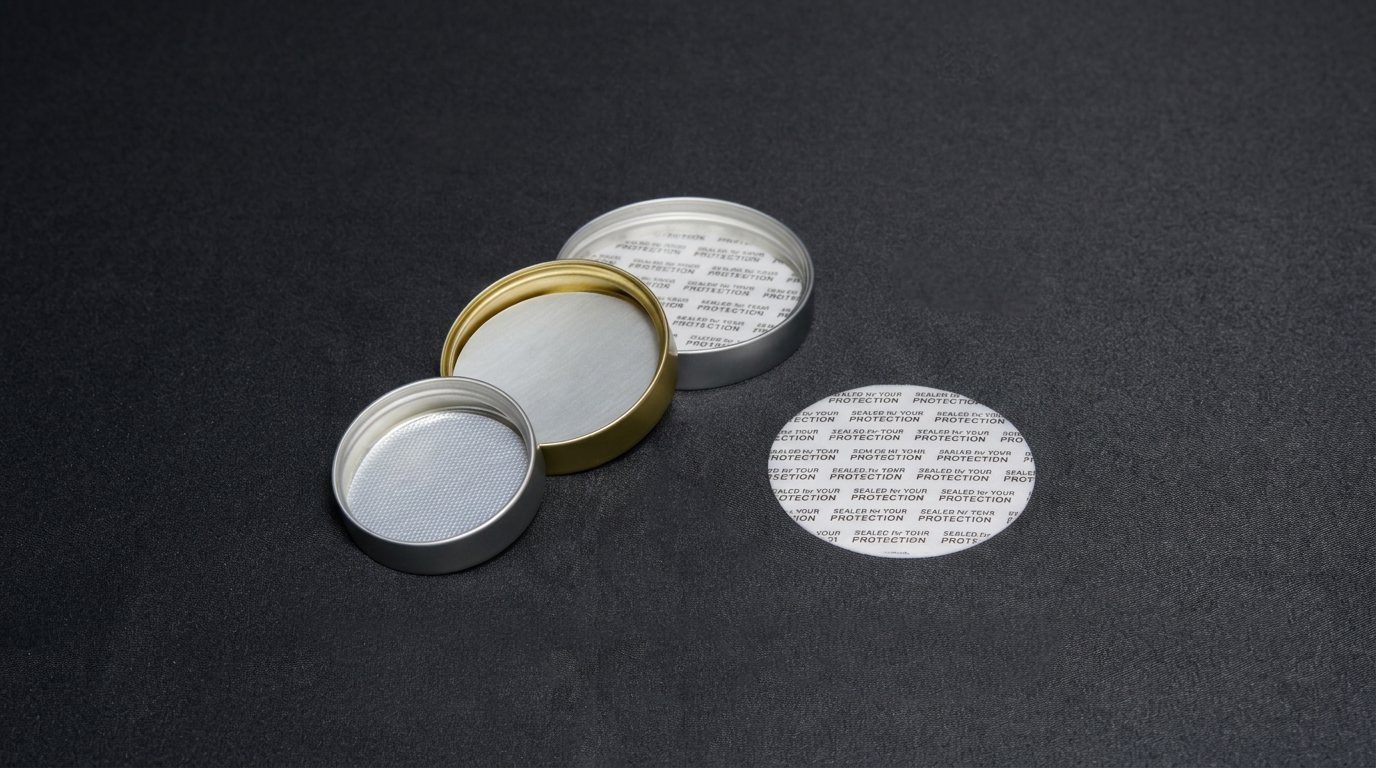
A properly constructed induction heat seal liner is a multi-layer laminate. Typically it includes a pulp or foam backing, a wax release layer, an aluminum foil layer, and a heat-activated polymer film. Each layer serves a specific function, and the thickness and composition of each layer directly influences how the liner responds to induction energy. If any layer is inconsistent in thickness or improperly bonded during manufacturing, the liner will respond unevenly to the electromagnetic field.
Thin spots in the aluminum foil layer, for example, will heat more rapidly than surrounding areas, creating hot spots that scorch the liner before the rest of the seal has fully bonded. Similarly, if the polymer film layer is too thin or has been stored improperly, it may not absorb and distribute heat effectively, leaving the foil exposed to runaway temperature buildup. Sourcing a consistently manufactured induction heat seal liner is therefore not just a quality preference — it is a direct factor in preventing burning defects.
The Most Common Causes of Induction Heat Seal Liner Burning
Excessive Power Settings on the Induction Sealer
The single most frequent cause of induction heat seal liner burning is running the sealer at a power level that is too high for the liner specification and container type in use. Many production lines default to higher power settings as a way of ensuring seal completion, particularly when running at high speeds. While this logic is understandable, it often overshoots the energy requirement and drives the foil layer into thermal overload.
Every induction heat seal liner has a recommended power-and-dwell-time window. Operating outside the upper boundary of that window does not produce a stronger seal — it produces a burned one. The bond strength of an induction seal is determined by the quality of the polymer-to-rim fusion, not by the total energy applied. Excess energy beyond what is needed for fusion simply damages the liner without adding any sealing benefit.
The corrective action here is straightforward: reduce power incrementally, test seal integrity at each step using standard peel and burst tests, and identify the minimum effective power level for your specific liner and container combination. This approach also reduces energy consumption and extends the life of the sealing head.
Incorrect Cap Torque and Liner-to-Rim Contact
Induction sealing depends on close, consistent contact between the induction heat seal liner and the container's sealing rim. If the cap is applied with insufficient torque, the liner sits loosely against the rim, creating air gaps that disrupt heat transfer. The sealer compensates by generating more heat, which concentrates in the foil layer and causes burning before the polymer film has made proper contact with the rim surface.
Conversely, excessive torque can deform the cap or the container rim, creating uneven contact pressure that produces inconsistent sealing and localized hot spots. The correct torque range is specified by both the cap manufacturer and the liner supplier, and it should be verified regularly using a calibrated torque tester rather than estimated by feel or operator experience alone.
When cap torque is within specification but burning persists, inspect the container rim for warping, contamination, or dimensional inconsistency. A rim that is not flat or is contaminated with residue from the filling process will prevent the induction heat seal liner from seating correctly, replicating the same air-gap problem regardless of torque.
Conveyor Speed and Dwell Time Mismatches
The dwell time — the duration for which the capped container passes beneath the induction coil — is as important as the power setting. If the conveyor speed is too slow relative to the power output, the induction heat seal liner receives more energy than it needs, and burning results. This is a particularly common issue when production lines are slowed down for changeovers, quality checks, or reduced-volume runs without a corresponding reduction in sealer power.
Establishing a documented power-speed matrix for each product and liner combination is one of the most effective preventive measures available. This matrix should be tested and validated during initial line setup and revisited whenever the liner specification, container type, or production speed changes. Treating power and speed as independent variables — rather than as a linked pair — is a common source of recurring burning problems on otherwise well-maintained lines.
Diagnosing Burning Patterns to Identify the Root Cause
Reading the Burn Pattern on the Liner
Not all burning on an induction heat seal liner looks the same, and the pattern of the burn carries diagnostic information. A uniform burn across the entire liner surface typically points to a global power excess — the sealer is simply running too hot for the liner specification. This is the easiest type of burning to correct because it responds directly to a power reduction.
A burn that appears only on one side or in a crescent shape often indicates that the container is not centered under the coil, or that the coil itself is misaligned. Electromagnetic field intensity drops off sharply with distance, so even a few millimeters of misalignment can create a significant energy imbalance across the liner surface. Checking coil alignment and container guide rail positioning should be the first diagnostic step when burn patterns are asymmetric.
Spotty or irregular burns — small scorched areas scattered across the liner — are the most complex to diagnose. They often indicate inconsistency in the liner itself, such as foil thickness variation or delamination within the laminate structure. In these cases, the issue may lie with the liner batch rather than the sealer settings, and a sample from a different production lot should be tested before making equipment adjustments.
Systematic Testing and Adjustment Protocol
When burning is first observed, resist the instinct to make multiple simultaneous adjustments. Changing power, speed, and torque at the same time makes it impossible to identify which variable was responsible for the problem. Instead, adopt a single-variable testing approach: hold all parameters constant and adjust one at a time, running a defined sample size at each setting before evaluating results.
Document every test run with the power setting, conveyor speed, cap torque, ambient temperature, and liner batch number. Ambient temperature matters more than many operators realize — induction sealing performance can shift noticeably between a cold morning startup and a warm afternoon production run, particularly in facilities without climate control. A well-documented test log transforms a frustrating recurring problem into a solvable engineering challenge.
Once the root cause is isolated, establish the corrected parameters as the new standard operating procedure for that product-liner-container combination. Build in a verification step at the start of each production run to confirm that settings have been applied correctly before full-volume production begins.
Liner Selection and Storage Practices That Prevent Burning
Choosing the Right Induction Heat Seal Liner for Your Container
Not every induction heat seal liner is suitable for every container type or filling application. Liners designed for HDPE containers have different polymer film formulations than those designed for PET containers, and using a liner outside its intended application range is a reliable path to sealing problems including burning. For PET plastic containers specifically, the liner must be formulated to bond with the lower surface energy of PET at the correct temperature range for the sealer being used.
Liner thickness also matters. Thicker liners with heavier foil gauges require more energy to reach bonding temperature, which means they are more tolerant of minor power fluctuations but also more susceptible to burning if the sealer is not adjusted to match. Thinner liners heat faster and are more sensitive to power excess. Matching liner specification to sealer capability and container type is a foundational decision that prevents a wide range of downstream problems.
Proper Storage and Handling to Maintain Liner Performance
An induction heat seal liner that has been stored incorrectly may perform erratically even when all sealer parameters are within specification. Moisture absorption is the most common storage-related issue. When the pulp or foam backing layer absorbs humidity, it changes the thermal conductivity of the liner, altering how heat distributes through the laminate during sealing. This can produce burning in some areas while leaving others under-sealed.
Store induction heat seal liner stock in a cool, dry environment away from direct sunlight and heat sources. Keep liners in their original sealed packaging until they are loaded into the capping machine. If liners have been exposed to high humidity, allow them to equilibrate in the production environment for a defined period before use, and consider running a small test batch before committing to a full production run.
Handling practices also matter. Liners that are dropped, compressed, or exposed to contamination before use may have delamination or surface damage that is not visible to the naked eye but will manifest as burning or seal failure during production. Implement a first-in, first-out inventory rotation to ensure that liner stock does not age beyond its recommended shelf life.
Preventive Maintenance and Long-Term Process Stability
Maintaining the Induction Sealing Head and Coil
The condition of the induction sealing head directly affects how consistently energy is delivered to the induction heat seal liner. A worn or damaged coil produces an uneven electromagnetic field, which translates into uneven heating across the liner surface. Regular inspection of the coil for physical damage, corrosion, or coolant flow issues is an essential part of preventing burning defects that originate on the equipment side rather than the liner side.
Cooling systems on induction sealers require particular attention. The coil generates significant heat during operation, and if the cooling circuit is partially blocked or the coolant level is low, the coil temperature rises and the effective power output becomes unstable. This instability often manifests as intermittent burning — runs that seal correctly for a period and then begin showing burn marks without any apparent change in settings.
Building a Sustainable Quality Control Routine
Preventing induction heat seal liner burning over the long term requires more than a one-time calibration. It requires a structured quality control routine that catches drift before it becomes a defect. At minimum, this should include a seal integrity check at the start of each production run, a mid-run verification sample, and a documented end-of-run review that flags any anomalies for investigation before the next run begins.
Periodic revalidation of sealer settings — particularly after equipment maintenance, liner supplier changes, or container specification updates — ensures that the process remains within its validated window. Many burning problems that appear suddenly on established lines can be traced back to a quiet change in one of these variables that was not accompanied by a revalidation step.
Investing in operator training is equally important. Operators who understand why burning occurs and what the early warning signs look like are far more effective at catching problems early than those who simply follow a checklist without understanding the underlying process. A well-trained team is one of the most cost-effective quality control tools available for any induction sealing operation.
FAQ
Why does my induction heat seal liner burn only on some containers and not others?
Selective burning across a production run usually points to inconsistency in the containers rather than the sealer settings. Variations in rim flatness, rim width, or container wall thickness affect how the induction heat seal liner contacts the sealing surface and how heat distributes during the sealing cycle. Inspect a sample of the affected containers for dimensional variation and compare them against containers that sealed correctly. If the containers are within specification, check the liner batch for foil thickness consistency.
Can a burned induction heat seal liner still provide a functional tamper-evident seal?
In most cases, no. Burning indicates that the foil layer has been overheated, which typically means the polymer bonding film has also been degraded. A burned induction heat seal liner may appear to be sealed but will often fail peel and burst tests, meaning it does not provide reliable tamper evidence or hermetic protection. Burned seals should be treated as defective and removed from the production run pending root cause investigation.
How often should I revalidate my induction sealer settings?
Revalidation should occur whenever any significant variable changes — including liner supplier or batch, container specification, cap design, production speed, or after any maintenance on the sealing head or coil. As a baseline, a formal revalidation at least once per quarter is a reasonable minimum for high-volume lines. Lines running a single product with stable inputs may extend this interval, but should still perform a documented verification check at the start of each production run.
Does ambient temperature affect induction heat seal liner performance?
Yes, ambient temperature has a measurable effect on induction sealing performance. Cold environments slow the rate at which the polymer bonding film reaches its activation temperature, which can lead to under-sealing. Warm environments reduce the energy needed to reach bonding temperature, which increases the risk of burning if power settings are not adjusted. Facilities with significant temperature variation between shifts or seasons should document and account for this variable in their sealer setup procedures.